Saturday, October 2, 2010

Winter is Coming...on Paper

Winter is my LEAST favorite season, so I'm not trying to rush anything. Fall has just arrived here in the South, so, Old Man Winter, if you're listening, "Keep your distance!" Still, I found myself creating a wintry scene the other day and want to share it with you.

I stamped the trees from Season of Friendship on a Baja Breeze base and stamped a third on a scrap and cut it out. I did this awhile ago and was so stumped by what to do next that I put it in my BB slot in my paper storage area and left it there. When I stumbled across it the other day, I thought I'd try my hand at it again. Letting things rest is good for creativity.


I took a retired snowflake wheel (but you could use the Sparkling Jumbo Wheel) and rolled it over the entire surface using Versamark. Then I sprinkled Heat and Stick Powder over the whole thing and heated it until it was glossy, i.e. sticky. Then I sprinkled Dazzling Diamonds on top of that, knocked off the excess, and finished heating the H&S powder, which bonds the glitter to the paper. Oh my. What a beautiful, shimmery scene--my kind of winter, especially if viewed from the cozy confines of my house with a fire in the fireplace.

The third tree was popped up on Stampin' Dimensionals and placed in the center. The little bird from Season of Friendship was the perfect splash of color accent when colored with Real Red and placed in the tree branches, also with a dimensional.

These would make very lovely Christmas cards or thank yous for gifts received during the season. Everything you need to craft these is highlighted in this post; go shopping online through my online store and make some winter on paper for yourself. It'll be here before you know it anyway.

Friday, October 1, 2010

Quick and Easy Gift Card Holder

When that "most wonderful time of the year" comes around, many people struggle to know what to buy folks so they purchase gift cards. Nothin' wrong with gift cards, except there's not much to give. No package to unwrap most times, and just handing over what the store gives you to put it in can leave you feeling like you didn't quite do enough. Am I alone in this? I don't think so.

So, why not take a few moments and create some great packaging for these little cards? That's what I did the other day when I had this great scrap left over from SU!'s new Decorative Label Punch after I punched a sentiment out of a piece of Whisper White card stock. It made such a sweet frame that I began to wonder what sentiments might fit inside it. Since I had the stamps from Seasonal Sentiments, also from the current Holiday Mini Catalog, on my table, I pulled out the beautiful Christmas greeting.

The complete stamp says "Merry Christmas and a Happy New Year", but all of that wouldn't fit. So I used my Basic Black SU! Marker and just colored the Merry Christmas part and stamped it on a scrap of Real Red card stock. I popped the frame up on Stampin' Dimensionals and had a nice greeting...in like 2 minutes!

Then I reached for a scrap of Garden Green card stock. Conveniently, it measured 3.5" x 8.5", so I scored it at 4.25" and began to play around with the placement of the greeting I'd created. While I liked it, it needed something, and when I discovered what it was, I had to order it and wait until late last week for it to arrive.

"It" was the Petals A Plenty Textured Impressions Embossing Folder for the Big Shot. It creates a sea of poinsettias, perfect for Christmas! I placed just the front of the Garden Green card stock in the folder, ran it through the Big Shot, and was stunned at the difference that the dry embossed look made. I added some small Rhinestones to give some shimmer and more visual interest. WOW! I'm lovin' this, and so far it has taken, oh, maybe 5 min.

I used the now-retired Slit Punch to create a place for the gift card to rest inside, but Mono Adhesive or Glue Dots would work equally well.

See how easy it is to make a simple gift card a more special gift? The time to get started is NOW, friends, so don't delay. The highlighted items, and the card stock, are all you need to make this sweet holder. If you don't have the resources to purchase the Big Shot, let's work together to plan an event for you and your friends so that you will have a stash of gift card holders ready for holiday gift giving. This is just one of 4 different holders I've created that we can make in a private class. Contact me!

Thursday, September 30, 2010

Getting a Jump on "The Most Wonderful Time of the Year"

EDITED TO ADD: Some of you were not aware that the box I made for the Hershey's Nuggets is a variation of the Halloween Treat Box I posted about yesterday. Here's the original link to her tutorial for that box, off which my box is based: http://www.youtube.com/user/ChicnScratch#p/u/11/yMbujJsmxxE. Scroll down in this post to find MY measurements that will change her square box into my rectangle box. Sorry for the confusion.

I'm scared to say this out loud, but Christmas is only 86 days away, and many of us will need gifts to give as early as Dec. 1, so subtracting 24 days from 86--62 days isn't a lot of time to get ready! ACK!

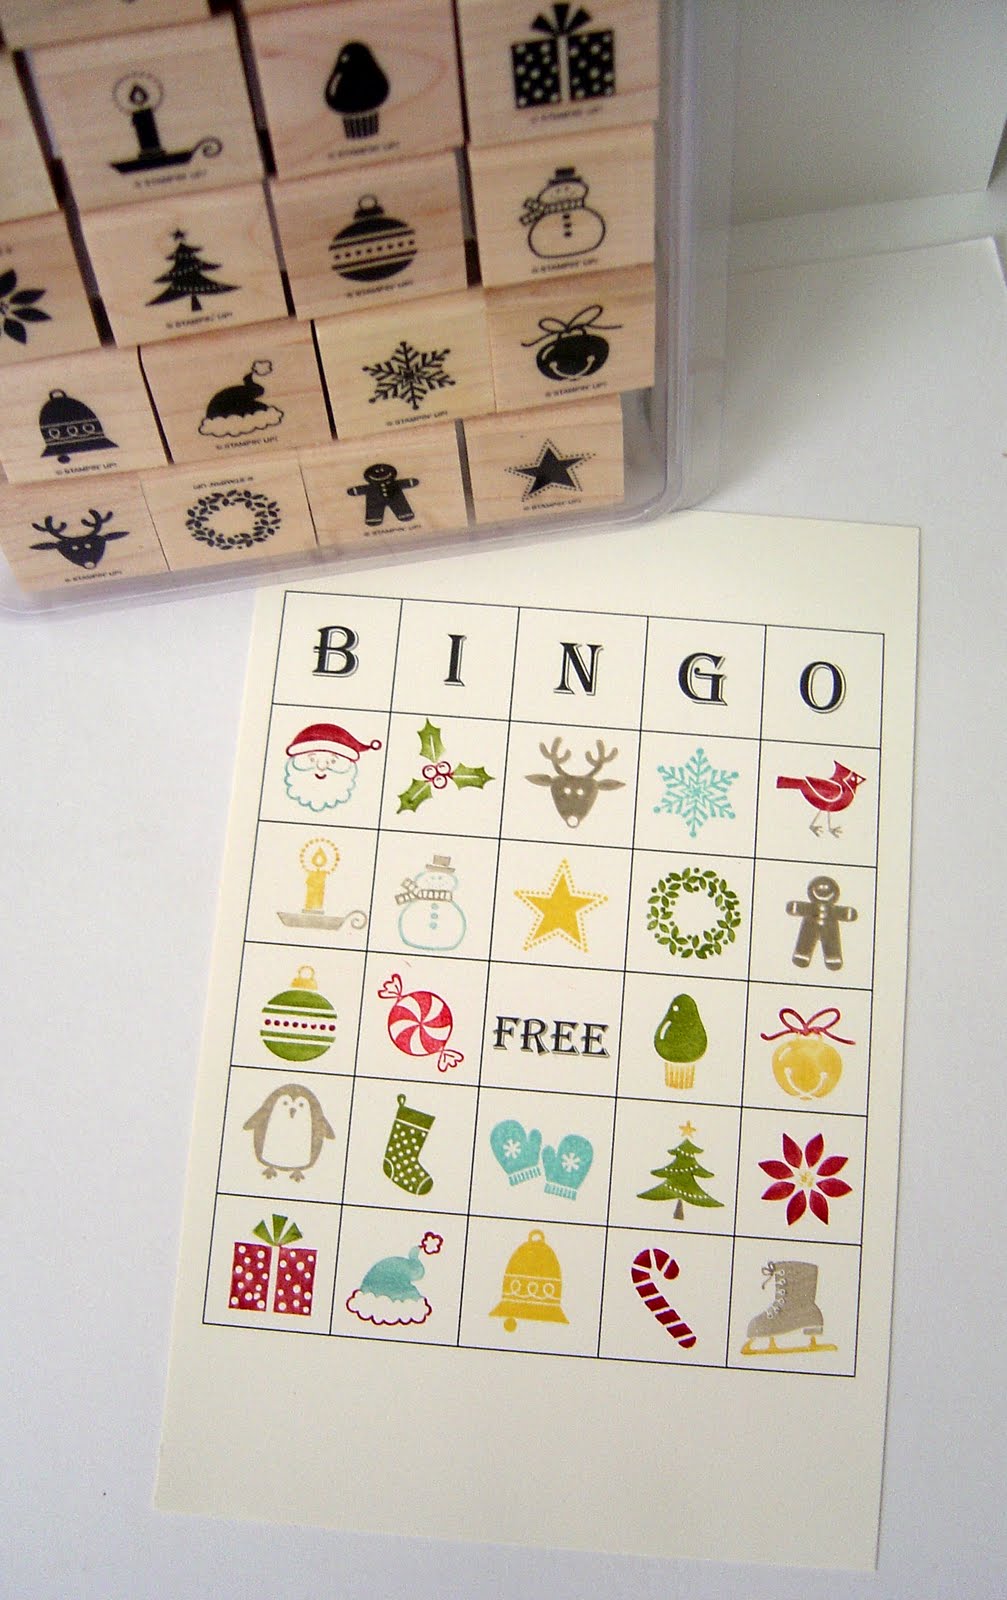
When I saw the Jolly Bingo Bits in the Holiday Mini Catalog, I liked the images (which come in clear mount as well as wood block), but wasn't sure I'd invest the money for both the inchies AND the coordinating large Bingo Board stamp SU! was selling.

While my dear friend and veteran teacher Darcie was visiting Labor Day Weekend, she sold me on this set by sharing her template for a bingo board that I could print off my computer! This helped me see the gift-giving potential this set has, and I'm here to share the results with you.

The first thing I did was color direct to rubber with SU! markers all 24 images from the set and create a bingo board. My idea is to create 4 different versions of this board and give the set to a teacher. Bada bing, bada boom--instant activity for use during the holiday season, whether as a reward for good behavior or as part of the class' Christmas party. Any room moms out there in need of a great game for the party? Here you go!

Once I finished with the bingo board, I had my husband scan it into the computer and then I printed two copies of it on Very Vanilla card stock. I cut the squares apart and mounted them on squares made using my Scallop Square Punch, and the 48 pieces are now a great memory game! This is another great gift for any teacher who needs something for a center in the classroom. (Thanks to Cindy at Heart's Delight Cards for the inspiration!) Wouldn't it also make a cute stocking stuffer? I see you nodding your head yes...

The box I made to store them in is a recycled box from Starbucks that gift cards come in. I'm sure if you asked your friendly barista, one or more could be procured for you for free! If you don't live near a Starbucks, Cindy posted a tutorial here for making a box.

The third thing I did with the stamps is colored them and stamped them on 1" x 2 5/8" Avery mailing labels (Avery 8250). I wrapped these around Hershey's Nuggets and had the goodies for a great little hostess gift. I needed a box for these sweets, and used Angie Kennedy Juda's template as a starting point, but a mixup in the scoring created this happy result.


Instead of scoring the portrait side of an 8.5" x 11" sheet of Cherry Cobbler card stock at 2.5" and 6", I scored it at 2" and 6.5". Then, instead of scoring the landscape side at 4.5" and 6.5", I scored it at 4" and 6". My memory was a little faulty--perhaps I could benefit from playing the matching game!

The box became a rectangle instead of a square, and I cut off the part that would create the closure so that the box was open. I took a 1" strip of Old Olive card stock and used the Scallop Trim Border Punch on both sides to make a delicate in appearance yet sturdy handle. I secured it at each end using Antique Brads. Victoria Crochet Trim adhered with Sticky Strip around the top of the box, with a matching bow stuck on with Glue Dots completes the box. This will hold 18 nuggets. Nice amount to share...or not.

So, what do you think? If you like this set as much as I do, contact me or purchase it through my online store. When you do, I'll send you a template for the bingo board and you can get crafting immediately. Then you'll be ready to enjoy "the most wonderful time of the year".

Saturday, September 25, 2010

Halloween Treat Box

When I was hosting my monthly Stamp-A-Stack this weekend, one of the gals saw this project I had prepared for another set of stampers. She asked if I had posted this on my blog, and I replied with certainty that I had. She didn't remember seeing it, so I lugged my laptop over to the table and, sure enough, I hadn't posted it!

This is evidence of my brain going in many directions in the past weeks, and I'll attempt to be a more regular contributor in the days ahead. Apology accepted? Okay, let's get on with today's project.

I first saw the template for this box on Vicki Burdick's blog, and I followed the link to Angie Kennedy Juda's blog. (Some might wonder why I send you away from here, but I'm not about to "reinvent the wheel" when someone as talented as Angie has already made a great tutorial. Here's the link: http://www.youtube.com/user/ChicnScratch#p/u/11/yMbujJsmxxE)

I loved the idea of this little box for sharing Halloween candy treats with classmates at school, and I modified hers twice to suit my purposes. I'll show you what I did today and tomorrow. I used Pumpkin Pie card stock, of course. While Angie tied a ribbon around her box, I wanted something more secure because I was making these with the idea that they would be transported for parties and would need to stay closed.

I used a retired punch, the horizontal slot, to create some slits for Early Espresso 5/8" grosgrain ribbon, but you could also use a 1/2" circle punch to accomplish this. I didn't want a scary Halloween image, since the crafters I was creating this for have young children. So I chose the XL 2-Step Owl Punch and added googly eyes.

The sentiment is from Seasonal Sentiments, a variety pack of sayings for the holidays of Halloween, Thanksgiving, Christmas, and Valentine's Day being offered in the Holiday Mini Catalog. I stamped it with Early Espresso ink and then used our new XL Label Punch, which has such a neat shape, to give it some visual interest on the box. To create the shadow effect, I punched the shape and cut it in half horizontally at the points in the middle and adhered it, slightly separated, behind the sentiment. You could also cut it vertically and achieve a different shadowed look.

The owl and the sentiment were mounted on a 3" x 3" square of Peach Parfait Designer Series Paper from the InColor Collection. The crafters were quite pleased with this, and my favorite part of this project is that it uses 1-8.5" x 11" sheet and requires no cutting.

I'll be back tomorrow with a second modification made with this template, this time making a little goodie box for Christmas.

Thursday, September 23, 2010

Desktop Chalkboard Easel

Yesterday I teased you with a little detail from a new project I've been working on for the upcoming holiday gift giving season. It's extremely practical and completely customizable to any taste, and allows the user to communicate a message using its chalkboard!

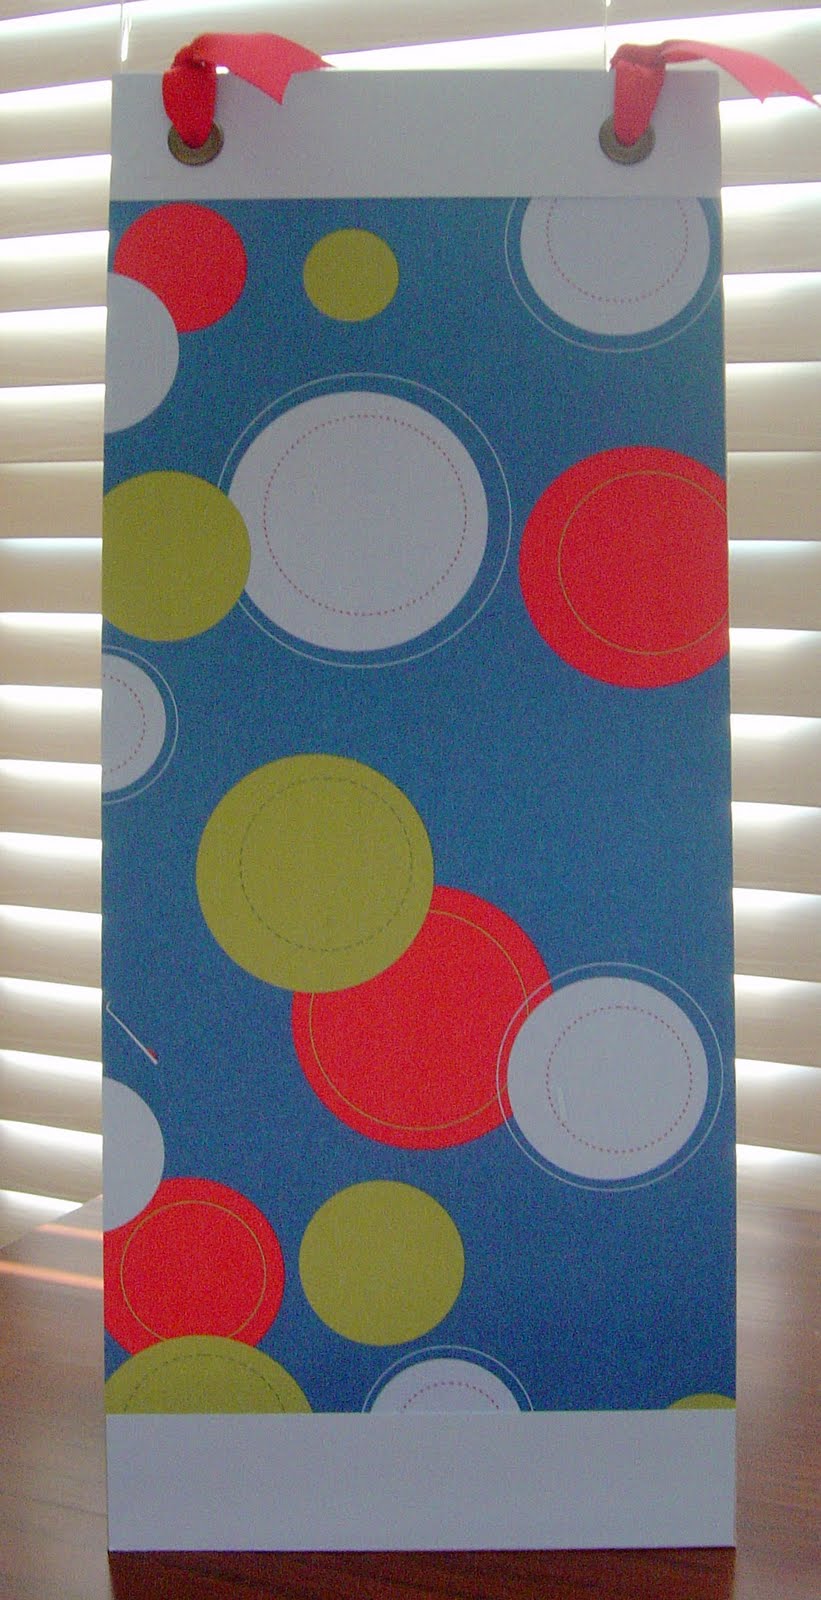
SU! has an item in its Decor Elements line of vinyl wall accents called Chalkboard sheets. Pair it with our On Board Long Board Chipboard, and you have a great easel!

For this project, I chose the Celebrations Designer Series Paper. The boards are about 14" long, so I used some coordinating Bashful Blue and Pacific Point card stock to cover the chipboard left bare on the ends. It's easy to make something like this with a female teacher in mind, but I wanted to show what one made for a man would look like.

I kept this very simple because it's a sample, but when it finds a permanent home, it will be personalized with the teacher's name across the top. I used Jumbo Eyelets and Real Red 5/8" grosgrain ribbon to tie the two long boards together. The Crop-a-dile chomped right through that chipboard with no problem and made setting the eyelets super easy.

While this would make an excellent gift for a teacher, I envision Mom uses for this too! Being able to post the day's schedule so that everyone knows who has what activities, keeping a running grocery list, posting a quote of the day to inspire, or welcoming guests. I see all kinds of possibilities! The other thing I like about this is that it collapses flat for storage.

I have Jill Hilliard and Jan Wakeland to thank for this idea. Let me know if you're interested in purchasing the supplies for this great project!

Wednesday, September 22, 2010

Watercolored Coffee Cups

If you've never watercolored a stamped image, you are missing out on a very relaxing, satisfying experience. This card came into being because I kept a piece of leftover watercolor paper from the last card I made using the Morning Cup set. This time, instead of letting the coffee ring stand on its own, it became a sort of border for my main image, a stack of coffee cups.

I stamped them in Early Espresso classic ink and immediately applied Clear Embossing Powder to it so that I could create a waterproof image that wouldn't smear. SU! carries a Brown Staz-On ink, which is waterproof by design, but I don't have it, so I tried this to see if it would work, since liquid on watercolor paper doesn't absorb immediately. It worked!

Then I chose my color palette. When I started as a demonstrator with SU!, I only had the earthtone color family, now called the Regals Collection. i am drawn to these colors in fall, for obvious reasons. I used Riding Hood Red, Tangerine Tango, Daffodil Delight, and Old Olive. I squeezed the felt pads and transferred the ink to the lid and used the finer of the two tips of the Aqua Painter to do my painting. I also created a bit of a grounding shadow around the cups using River Rock.

I mounted the piece on River Rock because the card base was also in that color. Not sure why I chose that when Early Espresso was the obvious choice. It just seemed too dark. I crafted a matting that reused the colors in my palette. They were just scraps and I like the DD piece in particular. The piece of hardware store twine adds a nice touch too.

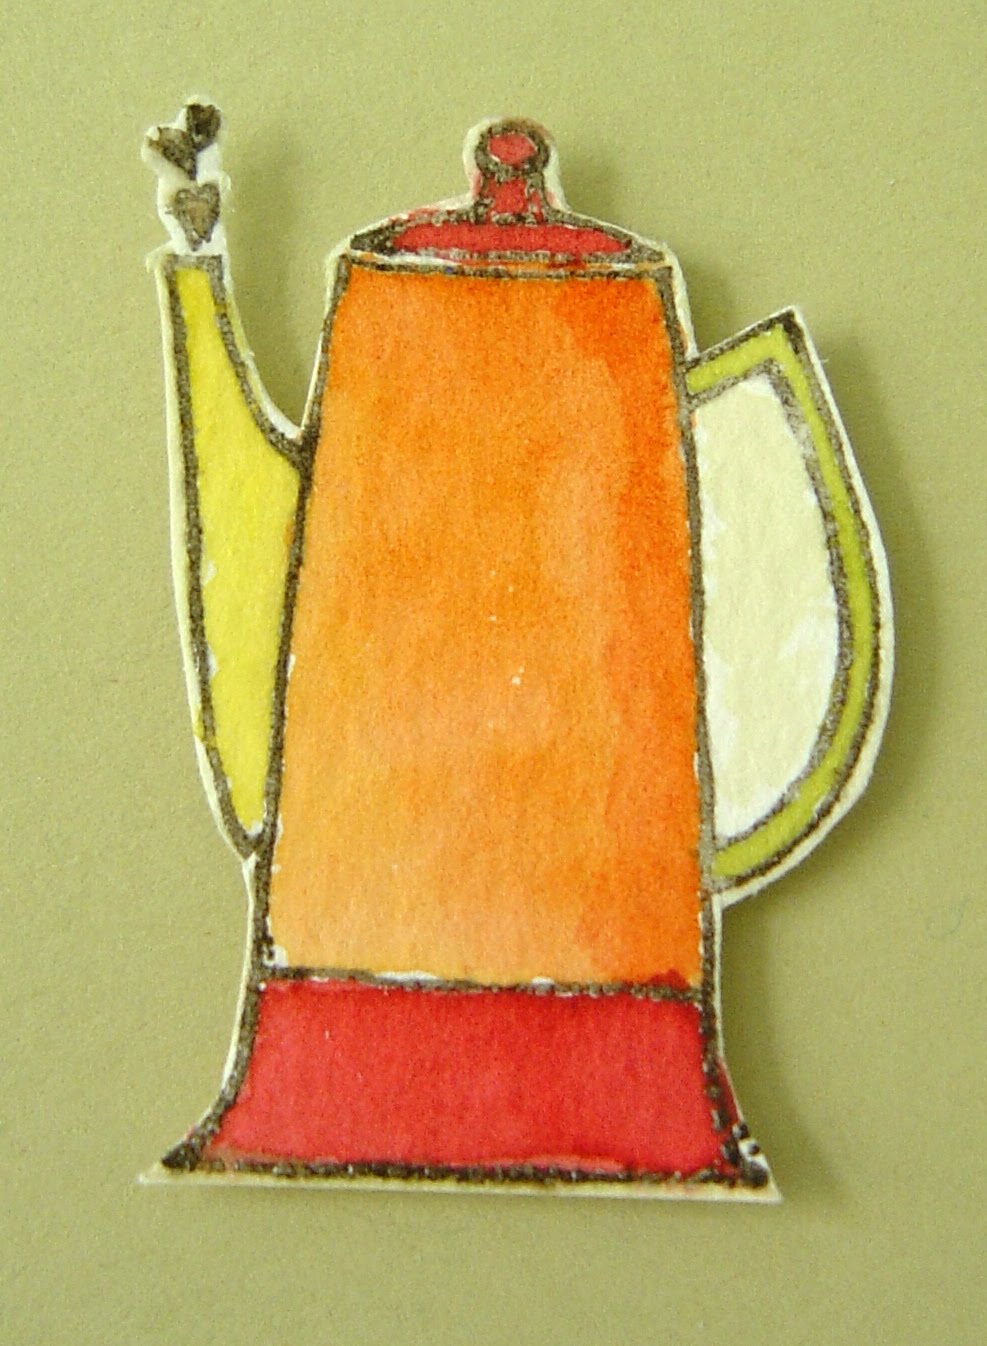
Initially, I watercolored this percolator for use on the outside, but I couldn't figure out a way to incorporate it. I put in on the inside as a way to extend the card's motif. While I usually choose to color objects in a way that reflects the way they look in real life, I let myself play with this.

Now to figure out which one of my coffee loving friends to send this to...

Tuesday, September 21, 2010

Today is all about ME!

I am 44 today. I have had the entire day to myself, and I'm lovin' it! I ate what my wonderful neighbor, Lisa Barr, brought to the front door at 7:30 this morning--red velvet cupcakes! I was wondering what I was going to have for my birthday dessert.

I cleaned the bathroom this morning, first thing. I know that sounds like the last thing any sane person would do on her birthday, but it was long overdue and I knew I'd be happier if it was just done. So it was done before 7a and I have been free to enjoy the day since.

I am going to have my favorite lunch--Publix's ham salad and pretzels, with another cupcake for dessert. I'm going to go to the library when it opens at 1p and pick out another book by Sandra Dallas, since I enjoyed Tallgrass so much the past week.

I've also been in the craft room this morning, and here's a card I made with this birdcage full of birdies that has been sitting on my table for weeks, waiting for a card to go with it.

It turned out well, I think. I enjoyed creating a mat that mimics the colors of the birds. I wish SU! would make a sentiment to go with every stamp set, because I'm not sure what I'd pair with these tweeters if I didn't have "just a note" from the Apple Blossoms Hostess Level 1 set! Are you listening, SU!? It's my birthday, and that is my wish. I'll even write the sentiments FOR YOU, if you ask me!

I'm going to fix this recipe for my birthday dinner, and I may rent a movie to enjoy this evening.

While I was in the craft room today, I worked on a project that I think will make a GREAT teacher gift this Christmas. Here's a sneak peek. Stay tuned. You don't even have to be a teacher to like this!