Showing posts with label Morning Cup. Show all posts

Sunday, January 15, 2012

Don't Faint!

Hey! Happy New Year! A friend of mine said that she has been checking this space in hopes of finding something new here, so I decided to surprise her and post something. If you've missed me, would you give a shout out? Honestly, I need to know there are readers out there who want to know what I'm crafting; I need a nudge.

This card was created for Ruby, one of the partners at my Starbucks who has been in the hospital with ketoacidosis. It's a nasty side effect of having diabetes, and it almost killed her 2 years ago. Thankfully she's on the mend, but I wanted her to know we're thinking of her. All of us will sign this and get it in the mail to her this week.

I used the Morning Cup set and an unusual color combination for me--Daffodil Delight and Basic Grey. I wanted something cheery and I remembered seeing this combo on someone else's blog. Since there are many fine line art images in this set, they lent themselves easily to creating a background by stamping with Basic Grey classic ink.

I had the idea to create a belly band to hold the card together. I scored a 2.25" strip of Basic Grey at 2.75" on each end. It didn't result in an overlap, but that was just what I wanted. I used a 3" circle from my Circles #2 die for the Big Shot that I had left over from another project. Then I layered a 2.5" circle in Whisper White.

The most fun I had making this card was incorporating the tiny "perk up!" sentiment around the edge of the circle. It was easy to do using my Stamp-A-Ma-Jig! The little flower buttons were almost an afterthought, but I like the feminine touch they add.

Tuesday, October 5, 2010

Corregated Cardboard "Sleeve" Card

Can you find inspiration from a piece of cardboard? Yep. This is how things happen sometimes. Kathleen's card inspired Lorri. Lorri's card inspired mine. Why I never thought of this, even though I handle approximately 200 sleeves a day, is beyond me. And the crafter who DID think of this? She doesn't drink coffee or tea! Just goes to show you that creative catalysts are abundant.

If you want to create the look of a coffee cup sleeve, all you need is a piece of corregated cardboard from any box. As you can see from the picture, although you probably already knew this if you enjoy nitpicking of any kind, cardboard is a sandwich of two thin layers of paper covering a fluted piece of fiberboard. You can read all about it here. To achieve the desired effect, simply remove one of the layers of paper to expose the fluted innards. Voila--you have a great card element!

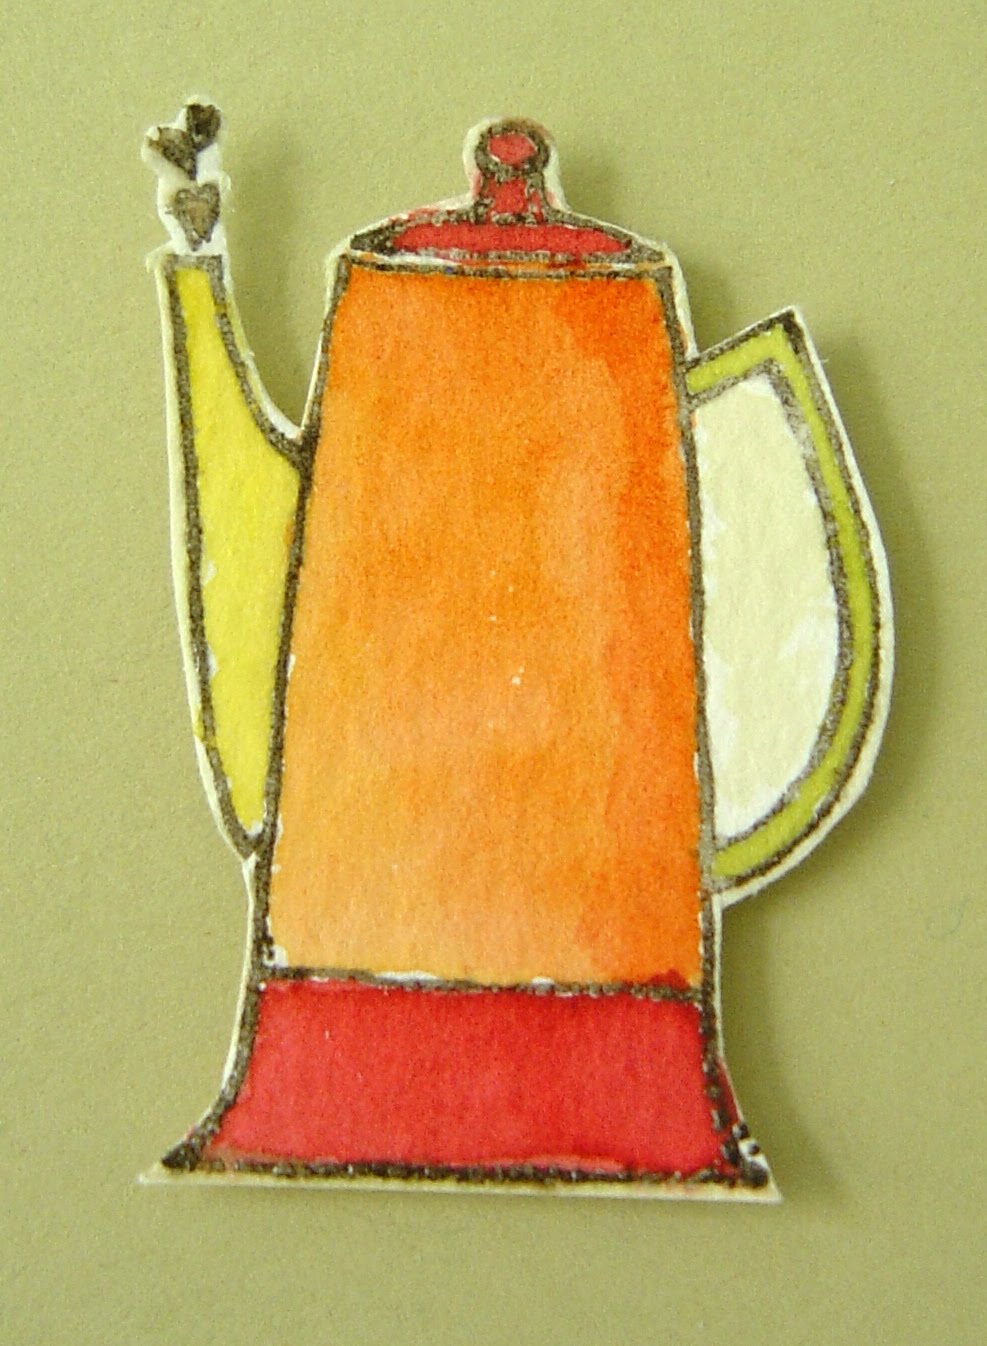
I need a get-well card for a friend of mine who broke her leg a month ago. I always want to watercolor the images from Morning Cup, so I stamped the mug and the percolator on watercolor paper with Early Espresso Classic Ink. Brown Staz-on ink would've been better, but I don't have any, and as long as you don't use too much H20, you'll be okay.

I used my Stampin' Write Markers in Crumb Cake and Poppy Parade and didn't color the images completely. I laid down some heavy color on the edge and then used my Aqua Painter to pull the color away from the edges and fill in the image. In some cases, I went back over an area with the marker to deepen the color, but I love how fast and easy it is to get a watercolored look by using these two tools. I'm certainly no Picasso, yet I get consistently good results with this method.

Most of the rest of the card is a CASE, but I wanted to use the percolator since the message evokes the image. So I added it to the cardboard layer. The idea for the hearts came from the original percolator image, but I wanted them to be bigger, so they were punched in Poppy Parade using the Heart-To-Heart Punch. The 2" Scallop Circle Punch and the 1 3/8" Circle Punch were used to create the pieces that have the mug on them. I adhered 5/8" Early Espresso grosgrain ribbon to the cardboard, then tied Crumb Cake 3/8" taffeta ribbon and Hemp Twine around it to cinch it a bit. The base is Always Artichoke, a 7" x 6.5" scored at 3.5".

Wednesday, September 22, 2010

Watercolored Coffee Cups

If you've never watercolored a stamped image, you are missing out on a very relaxing, satisfying experience. This card came into being because I kept a piece of leftover watercolor paper from the last card I made using the Morning Cup set. This time, instead of letting the coffee ring stand on its own, it became a sort of border for my main image, a stack of coffee cups.

I stamped them in Early Espresso classic ink and immediately applied Clear Embossing Powder to it so that I could create a waterproof image that wouldn't smear. SU! carries a Brown Staz-On ink, which is waterproof by design, but I don't have it, so I tried this to see if it would work, since liquid on watercolor paper doesn't absorb immediately. It worked!

Then I chose my color palette. When I started as a demonstrator with SU!, I only had the earthtone color family, now called the Regals Collection. i am drawn to these colors in fall, for obvious reasons. I used Riding Hood Red, Tangerine Tango, Daffodil Delight, and Old Olive. I squeezed the felt pads and transferred the ink to the lid and used the finer of the two tips of the Aqua Painter to do my painting. I also created a bit of a grounding shadow around the cups using River Rock.

I mounted the piece on River Rock because the card base was also in that color. Not sure why I chose that when Early Espresso was the obvious choice. It just seemed too dark. I crafted a matting that reused the colors in my palette. They were just scraps and I like the DD piece in particular. The piece of hardware store twine adds a nice touch too.

Initially, I watercolored this percolator for use on the outside, but I couldn't figure out a way to incorporate it. I put in on the inside as a way to extend the card's motif. While I usually choose to color objects in a way that reflects the way they look in real life, I let myself play with this.

Now to figure out which one of my coffee loving friends to send this to...

Saturday, July 24, 2010

Need Coffee?

Since I started working at Starbucks, I've developed a taste for coffee. Naturally, when I saw the new set called Morning Cup I ordered it immediately.

For once, I had no preconceived notion of how I wanted the card to look. I just started experimenting with the different elements. I stamped the percolator and stack of cups and saucers using one acrylic block onto Watercolor Paper. Using my Aqua Painter with the fine tip, I colored the images. It was a bit tricky, since the ink I'd used to stamp the images, Soft Suede, is not waterproof, and SU! no longer carries Brown Staz-On. I used Basic Grey and Garden Green, the closest green in any of the color collections to Starbucks green. I grounded the images using Crumb Cake.

Then it began to get interesting. I wanted a coffee ring as part of the design so that the sentiment didn't look lost above the images. I experimented with an actual cup, but wasn't pleased with the result. So I pulled out a small metal lid from a tin of espresso cookies--how appropriate--and inked it using Early Espresso, which is a shade or two darker than Soft Suede. Once I'd stamped it, I applied water with my Aqua Painter and achieved the look I desired. I even created some drops off to the side!

I inked the sentiment using my EE and GG Markers and stamped it in between the visuals. Isn't it hilarious? Since I drink coffee solely for the taste--caffeine does not effect my alertness at all--I can't relate, but I know many who do.

Then I got the idea to play off the sentiment by anchoring the whole card with some z's. I ran some tiny scraps of EE through my Big Shot multiple times and punched out some 1/8" circles. It helped to use tweezers to apply glue to each letter and position it.

This set also comes with a single cup and saucer and a mug, as well as a tea kettle and a tea bag, so you can make cards for both kinds of caffeine addicts in your life. If you'd like to order it, click here!