Showing posts with label Celebrations DSP. Show all posts

Thursday, May 19, 2011

Builder Wheel Birthday

Sometimes the best cards have the least number of elements. Such is the case with this masculine or appropriate for a child birthday card. It's created using the Builder Wheel system, Designer Series Paper, and a card stock base. A card like this can be modified in some easy ways, which I'll detail later in this post, resulting in several different looking cards using the same layout and supplies. Because May is a HUGE birthday month in my family--my sister, my sister-in-law, my brother-in-law, my nephew, and my other brother-in-law--I need to be able to crank out LOTS of birthday cards.

The color palette for this card was determined by the Designer Series Paper, Celebrations. It combines Pacific Point, Bashful Blue, Real Red, and Old Olive. So, let's see, which colors should I choose? I like simple, don't you?

After cutting the Bashful Blue card stock and panels of the DSP to the size I wanted, I inked the wheel with Real Red and rolled it on Whisper White card stock. Mine was loaded with two wheels of Candle Crazy and Birthday in the middle. I pulled out the Pacific Point, Old Olive, and Bashful Blue markers and colored the candles and mounted it on a Bashful Blue mat.

Now, let's talk about some simple modifications that can be made to make this card appear different without creating a new layout.

1) Change the card base color. This automatically makes the card appear different, and you've hardly done anything!

2) Change the mat color. By using one of the other colors in the DSP as a matting for the main image, you alter the card without creating a lot of work for yourself.

3) Change the ink color for the wheel. You could go with one of the other colors in the DSP or use Basic Black.

4) Change the colors you color the candles. I could've chosen to color all the candles Pacific Point, and made the matting Old Olive.

5) Choose a different DSP! This keeps the layout exactly the same, but changes the feel, especially if you choose a DSP that has feminine colors.

6) Eliminate the DSP and roll directly on the card base. Paper, ink, and stamps is really all you need to make a great card!

I hope these tips will help you make efficient use of your crafting time, and let you focus more on being creative.

Monday, April 11, 2011

The BIG 4-0 Card

George, a good friend of my husband's, turned 4-0 a few weeks ago. Bob asked if I would make him a card.

I don't have large dies that cut numerals for me, but long before I even knew what a diecut machine could do, I created my own stencil by enlarging some numbers on the computer to fit on a standard 4.25" x 5.5" card base. Now THAT'S old school!

I traced these onto some Celebrations DSP and cut them out, embossed a Bashful Blue piece of card stock using the Square Lattice TI Folder, and used my Stars #2 die to quickly add some stars. After I adhered all that to a Whisper White base, the card was ready to go.

George is quite the smartypants, so Bob gave him a copy of Radioactive Boy Scout along with the card. He also treated the office to Birthday Cake Pops from Starbucks. I think George felt properly embarrassed, I mean celebrated. Glad I was able to have a small hand in the festivities.

Saturday, January 22, 2011

Bendy Foldy Birthday Card

When you make cards regularly like I do, you get tired of using the same old layout. There seem to be only so many ways to fold paper and arrange it. So, when fellow demonstrator and friend Lydia found this card made by Emma Fewkes and featured the layout on her blog, I contacted Emma (ladyandthestamp@gmail.com) and she sent me the tutorial she wrote, complete with pictures!

After I'd created the card the way Emma instructed me to, using Bashful Blue as my base and two panels of Celebrations Designer Series Paper, I decided I wanted to make a birthday card. Those two bends are perfect for words. The Billboard die worked just as I'd hoped, and then I thought I needed a pennant banner along the top of the card. Pennants are all the rage in blogland these days, and they scream "birthday"!

I used my Stars #2 Originals die and chose the second largest star to begin my pennant making.

All I had to do to get the Isosceles triangles I needed was cut the tips off the stars! If you have a Star punch, you could do the same thing using it.

Then I laid them out along the top of the base before I adhered them to get the proper "swag". The bow in the middle is made using the 1/8" Whisper White taffeta ribbon. After I'd placed the banners, the card still seemed lacking pizazz. I don't have any diecuts for numbers (getting the Simple Numbers Bigz die will rectify this), so I sketched one and cut it out by hand. It adds just the right amount of dimension, don't you agree?

The final addition is the little tag from Party Hearty, which I colored direct to rubber using the Real Red, Pacific Point, and Old Olive Stampin' Write Markers. I LOVE LOVE LOVE how this turned out! Thanks Emma, for such a great tutorial!

This card will be part of my Feb. 5 Stamp-A-Stack. If you are interested in attending,
please RSVP via the comments section.

Thursday, September 23, 2010

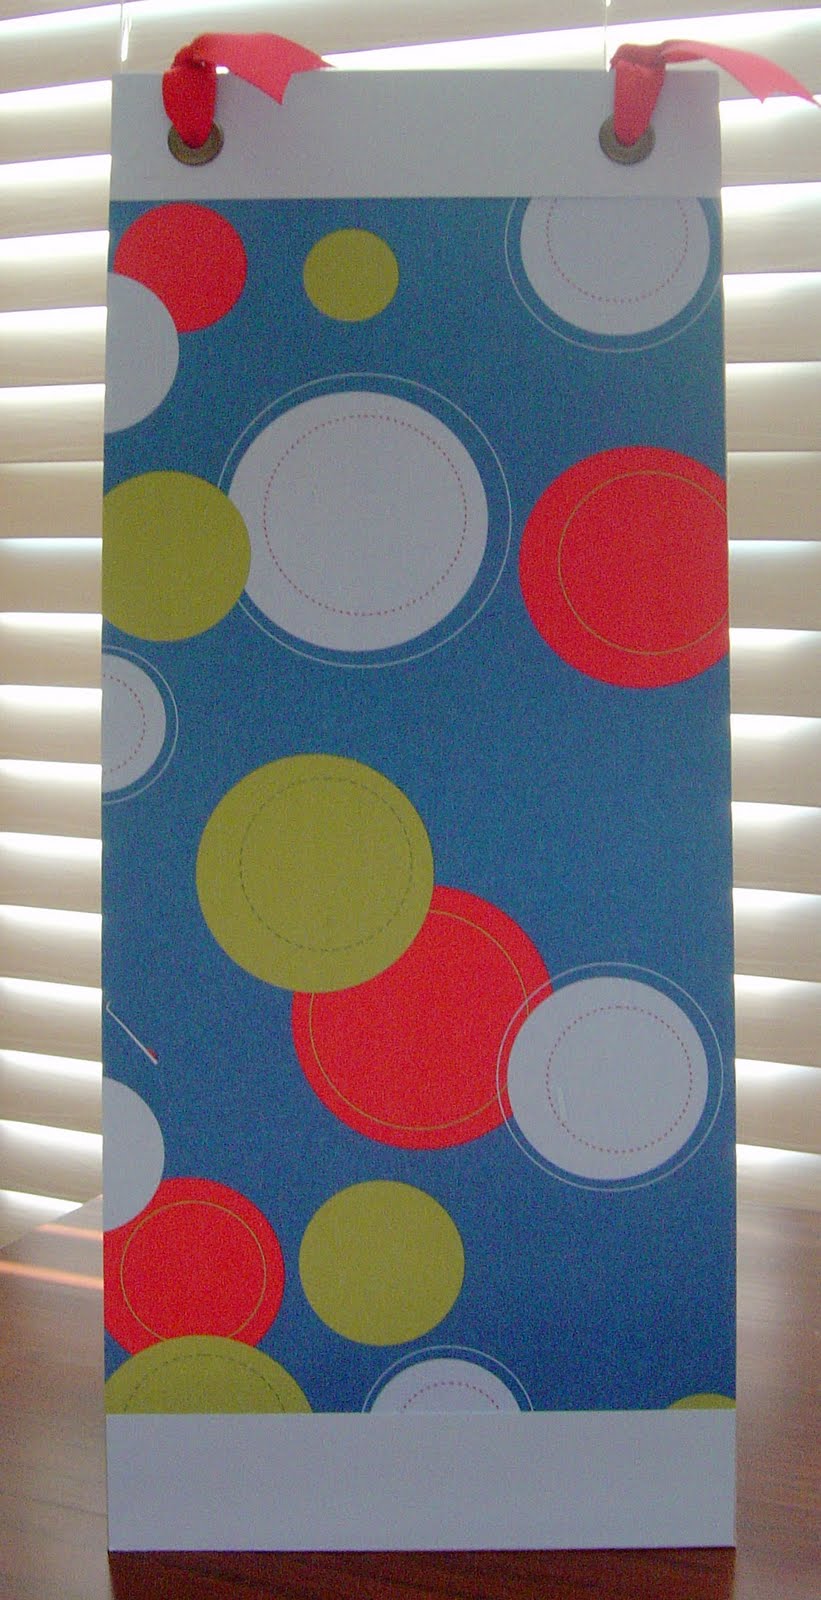
Desktop Chalkboard Easel

Yesterday I teased you with a little detail from a new project I've been working on for the upcoming holiday gift giving season. It's extremely practical and completely customizable to any taste, and allows the user to communicate a message using its chalkboard!

SU! has an item in its Decor Elements line of vinyl wall accents called Chalkboard sheets. Pair it with our On Board Long Board Chipboard, and you have a great easel!

For this project, I chose the Celebrations Designer Series Paper. The boards are about 14" long, so I used some coordinating Bashful Blue and Pacific Point card stock to cover the chipboard left bare on the ends. It's easy to make something like this with a female teacher in mind, but I wanted to show what one made for a man would look like.

I kept this very simple because it's a sample, but when it finds a permanent home, it will be personalized with the teacher's name across the top. I used Jumbo Eyelets and Real Red 5/8" grosgrain ribbon to tie the two long boards together. The Crop-a-dile chomped right through that chipboard with no problem and made setting the eyelets super easy.

While this would make an excellent gift for a teacher, I envision Mom uses for this too! Being able to post the day's schedule so that everyone knows who has what activities, keeping a running grocery list, posting a quote of the day to inspire, or welcoming guests. I see all kinds of possibilities! The other thing I like about this is that it collapses flat for storage.

I have Jill Hilliard and Jan Wakeland to thank for this idea. Let me know if you're interested in purchasing the supplies for this great project!

Wednesday, September 8, 2010

More Birthday Wishes

My boy who just turned 16 is not into cards, so I didn't make him one. But if I had, this would probably be what I would've been going for. Something eye-catching, but not too over the top. Something short and sweet and to the point. I love that, once I figured out what I wanted to do, this card took less than 10 minutes to execute.

The layout was inspired by a door decoration I saw while driving through our neighborhood yesterday. The stars dangled vertically, attached to each other in a purposely haphazard manner. Immediately I thought of my Stars #2 Originals die for the Big Shot. It has four different sizes of the shape, and they all layer inside each other. I used some scraps to get stars in Real Red, Baja Breeze, Old Olive, and Pacific Point.

I pulled out my new Celebrations Designer Series Paper, and the 4" x 5.25" piece made the perfect background for my stars. Check out the link to see all the patterns offered! Really, go ahead; I'll wait. I like that the numbers pattern can stand for a birthday year or the number of wishes available for the recipient!

The base is Old Olive, which coordinates with the colors featured in the paper and the stars. The sentiment, stamped in Pacific Point, is from Heard from the Heart, and I like that it's a less than predictable way to say "Happy Birthday". I made a little banner, because birthdays are about proclamations.

Need a good birthday card for a male in your life? I can't think of one who wouldn't like this. Want to shop right now for the materials? Here's a quick list of what you'll need:

Celebrations Designer Series Paper
Heard from the Heart stamp set
Old Olive card stock
Pacific Point classic ink
Stars #2 Originals die for Big Shot
Big Shot

Here's the link to my online shopping site. Everything will come right to your doorstep.