
 This card came together in the most roundabout way! I started out with a completely different focal image, but I just couldn't get it to look right. I had already cut the matting layers of Real Red and Old Olive and I didn't feel like wasting them. I happened to have my Decorative Label Punch sitting around on my craft table, and one thing led to another and this card layout came to me. (Just for the record, the base is River Rock and the large mat is Very Vanilla.)
The best part of this card, in my opinion, is the Petals A Plenty Textured Impressions Folder for the Big Shot that was used on the top half of the Old Olive piece. I used the debossed side and it just really is striking that way. I'd only ever used the folder to make an impression on an entire piece, and I really like how it makes a sort of border without adding another layer.
A side note: I am not an early adopter when it comes to trying new things, but I have to tell you that if I'd known how much I would enjoy the Big Shot die cutting machine back when SU! began offering it in 2008, I would've bought it immediately! It has enhanced my card making immensely, and it's super easy to use! Don't forget that the Mr. Santa in your life is probably looking for some idea of what to get you for Christmas. I can help him and he'll never have to leave his house! One phone call and he's DONE! Have him contact me at jenn@nahrstadt.com. He'll thank you, I promise!
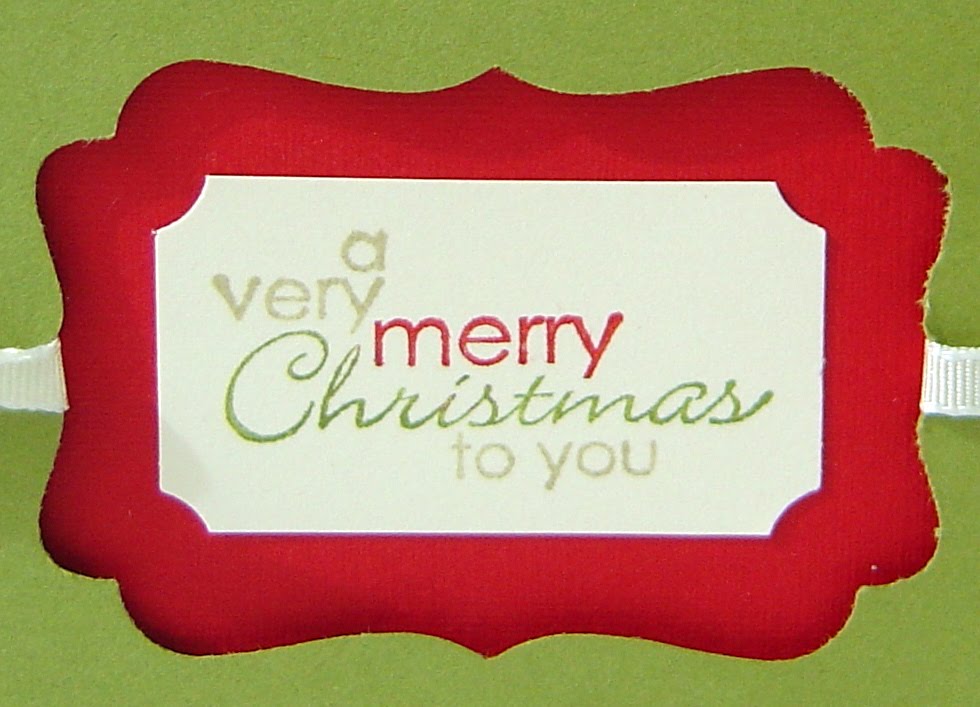 The most accidental thing about this card's metamorphosis was the sentiment. It's from a retired set, The Best Is Yet to Be, and I inked it in the aforementioned colors directly on the rubber and stamped it on Very Vanilla. Then I pulled out my Designer Label Punch. It fit perfectly, but I cut off the rounded portions of the punched image before I changed my idea about using the original focal image, so I had this little ticket shape left. It fits so nicely inside the Decorative Label Punch, though, don't you think? The addition of the 1/8" Very Vanilla taffeta ribbon was also just a whim that turned out just as I'd hoped.
 What have you created that turned out better than you expected? I hope you're finding time to do something creative during your busy days. It makes such a difference in my mental state, I confess. Have a very happy, if chilly (it's supposed to be in the 30s overnight here), weekend. Don't forget to turn your clocks BACK one hour Saturday night!


